Farming The ZigZag Airdrop On Autopilot
— Strategy, How-To — 7 min read
What's up guys.

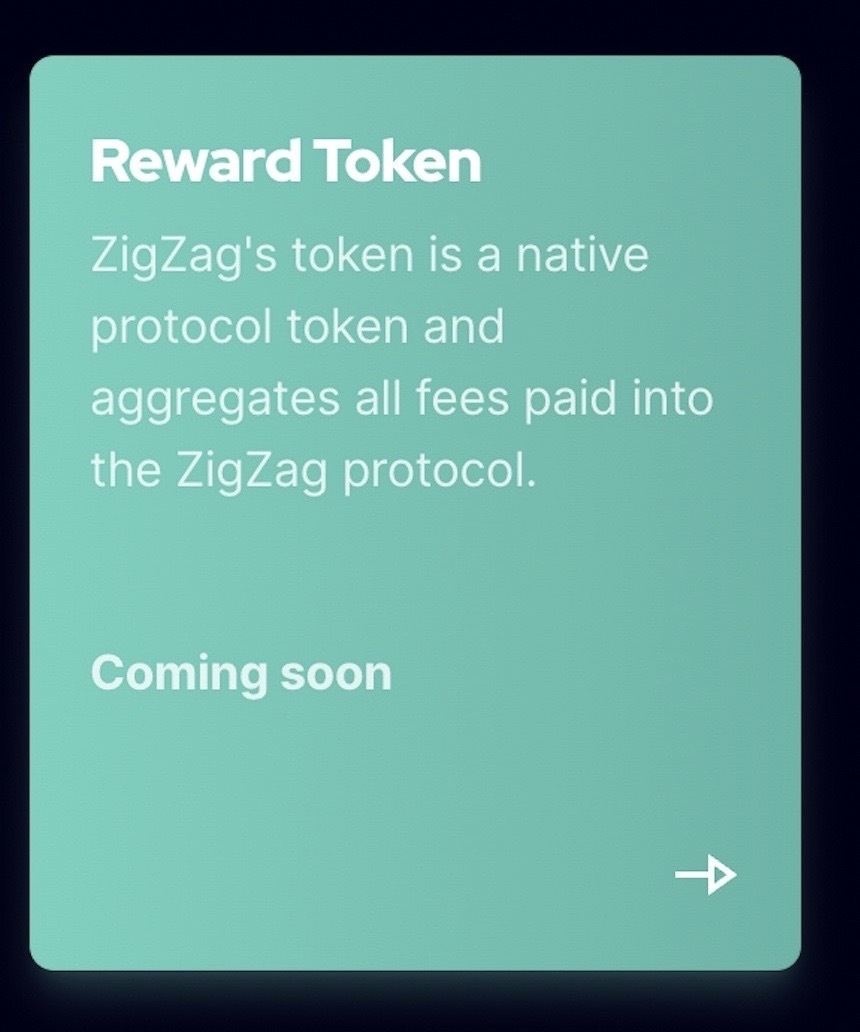
Now that CowSwap have announced their community airdrop, the search is on for the next big boon coming to defi users. Of the consensus contenders, I believe ZigZag Exchange to be the closest to a sure thing. The team have repeatedly teased an airdrop for users and there are already references to a reward token for users on their website. What's more, ZigZag is built on zkSync, another project who have confirmed they will have a token, so by using ZigZag users potentially make themselves eligible for two airdrops at the same time.
Is ZigZag Exchange safe?
Defi is the wild west and anything can and does happen, but at the moment there is no reason to believe ZigZag is any more (or less) risky than any other fledgling exchange. As with any kind of speculation, you need to use your own common sense and take only those risks you can afford. The zkSync rollup claims to have zero extra trust assumptions for a user holding funds in an L2 account compared with Ethereum L1, and transactions settle to mainnet after a short validation period, so users can be relatively secure in the knowledge that their funds are indeed safu.
How do I trade on ZigZag Exchange?
The easiest way to ensure you're eligible for the ZigZag/zkSync airdrop is to bridge funds over to zkSync and start making some trades. The exchange has decent liquidity and currently charges just $1/trade by way of fees, so this is an easy, low-tech way to make sure you get a few tokens in the airdrop.
There is, however, a better way..
Running a Market Maker on ZigZag
What if, rather than manually hunting the airdrop yourself, you could hunt those hunting the airdrop? If you're willing to show a little persistence and work with some code, not only might you learn something, you'll be able to massively increase the volume you put through the exchange, while reducing your fees and (possibly) squeezing out some probabilistic profit.
The ZigZag team has kindly put together a GitHub repository with everything you need to run an automated market maker. Fork the repo, run 'npm i' to install dependencies and fill out config.json.EXAMPLE with the required data. Once you're done, rename is to config.json and run
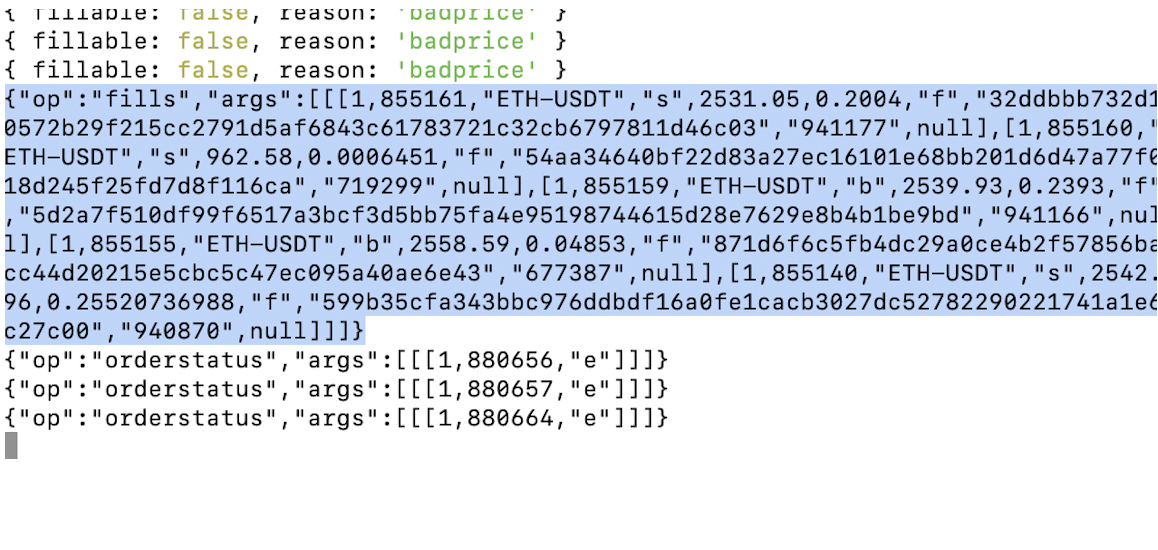
node marketmaker.jsIf it worked, you'll see some output that looks like this:

If it hasn't (or if it has), head over to the ZigZag Discord server and drop a message to the friendly folks in #mm-bot-support. While it's obviously not their job to google your errors for you, they are a super helpful bunch who might be able to help you out. You can also claim the highly coveted 'MM bot' role once you've successfully filled some orders.
Edit: make sure you've completed up to here before trying the rest of the stuff in this article!
Doing Better - How to Fill More Orders
If you read the output from your bot, you'll notice a few things. Firstly, lots of transactions come back with 'fillable: false'. These arise when there's an order on the exchange which doesn't meet your parameters for filling as defined in config.json. The main reasons are
- 'badprice' - Order price is less than pricefeed +/- minspread. Likely limit orders
- 'badbalance' - Not enough funds in account to fill order
- 'badside' - Using single sided liquidity, order is the wrong side.
Some other orders you didn't fill, you'll unfortunately not even see - these are orders on pairs for which you aren't providing liquidity. Note that even if you have only one of the assets in the pair, you can supply liquidity on both sides - if an order comes through on the other side (i.e. for an asset you don't have), it'll just get flagged as bad balance.
Even supplying liquidity for all sides on all pairs though, there will be some orders you don't fill. These mainly come back with the error 'Order XXXXX is not open'. What this means is that, even though the order matched your preferences, the order was filled by another MM before you.
This naturally leads to an arms race, where a bunch of similar LPs are essentially competing with each other for who can fill the order quickest. While there is some randomness in who wins each race, the main factor is latency, i.e. the amount of time it takes for your MM to receive a message from the zigzag server, and vice versa. Michael Lewis's book 'Flashboys' is an interesting look into this type of arms race in the TradFi world. But for our purposes- if you want to win your fair share of orders (not to mention, to have your bot running 24/7), then realistically you're going to need to have it running on a server.
Heroku
The lovely folks on the team at ZigZag saved would-be MM's like me a job when they just told us directly that their servers are running in the Virginia region of the US, with Heroku. Another stroke of good luck, Virginia is the default region for apps running on cloud service Heroku. To top if off, Heroku have a free tier which covers the use of one 'dyno', so we won't even have to pay for our server space! All we need to do is some set up to get things running, with an eye on the most important thing - that we DON'T accidentally expose our private key and lose all our funds!
Passing Config to Heroku
First of all - while this method worked for me, I had the confidence to try it only because the wallet I was using contained relatively little funds. I've decided not to duplicate this setup on my main wallets simply because I don't properly understand the process by which environment variables (or config variables in Heroku-land) are passed to and used within remote machines. To state the obvious - your private key represents complete control of the funds within your account. If you expose your private key, you can safely assume your funds are gone.
But, if we are happy with the risks and determined to mine that sweet, sweet volume, here's how we'd go about it. We are going to follow the outline described here for getting started with Heroku and nodejs. Create an account with Heroku and install the CLI if you haven't already. In your project root directory, make sure your .gitignore is set up such that you don't expose your private key, then create your Heroku app with:
heroku createUpload your code with:
git push heroku mainNote: if you get an error here, try again with "git push heroku master".
If that looks like it worked, compress your config file as described here, and use:
heroku config:set MM_CONFIG='your-compressed-config-here'To pass in your configuration. Note that the json object is wrapped in quotes!
Finally, run the app with:
heroku ps:scale web=0 worker=1This differs from the tutorial instructions linked above, which uses web=1 and therefore expects a web server/crashes your app if it doesn't bind to a port within 1m of launch. Check your app is running smoothly with:
heroku logs --tailIf you see something similar to the output you got running the bot on your local machine, it's likely you've successfully set up your money printing machine successfully and you can sleep soundly knowing your bot is allowing less sophisticated airdrop hunters to wash trade against themselves while you collect the spread and accumulate volume that's likely to be handsomely rewarded if/when the zkSync/ZigZag Exchange tokens drop.
Pretty fuckin' sweet :)
You can check out the orders I've managed to fill using this bot here.
That's it from me, feel free to DM me on Twitter (@defibuildereth) if you'd like help setting up your MM bot, or with anything else. Big shout outs to @Julian and @tareau for helping me with my own setup, definitely come jump in the ZigZag Discord for all the latest alpha on the token drop as well.
GL out there!